ASP.NET Core Razor Pages Notes
2024-05-30
筆記 ASP.NET Core 開發相關知識點。

說明
Model
Page (F7) PageMolde
- single file (page code + code section)
- code behind (index.cshtml + index.cshtml.cs)
middleware
app.UseHttpRedirection()
app.UseStaticFiles()
app.UseRouting()
app.UseAuthorization()
app.MapRazorPages()
PageModel
Handler Method
public class IndexModel : PageModel
{
    public IndexModel(MyRazorPages.Data.MyRazorPagesContext context, ILogger<IndexModel> logger)
    {
        _context = context;
        _logger = logger;
    }

    private readonly ILogger<IndexModel> _logger;

    public IList<Movie> Movie { get;set; } = default!;

    [BindProperty(SupportsGet = true)]
    public string? SearchString { get; set; }

    public async Task OnGetAsync()
    {
        ...
    }
}
TagHelper
_ViewImports.cshtml
@using MyRazorPages
@namespace MyRazorPages.Pages
@addTagHelper *, Microsoft.AspNetCore.Mvc.TagHelpers
Client Side Library
Section
<footer>
    @RenderSection("Footer", required: false)
</footer>
@RenderSection("Scripts", required: false)
@section Footer {
<p>© 2024 - My Application</p>
}
@section Scripts {
<script src="~/js/custom-scripts.js"></script>
}Dependency Injection
vs MediatR ContosoUniversityDotNetCore-Pages
AddScoped
每個 HTTP 請求一個實例
每個請求一個實例
用於跨多個操作保持狀態數據
資料庫上下文(DbContext)
AddTransient
每次注入時創建新實例
每次請求一個新實例
用於無狀態服務或輕量級服務
短暫的輕量級服務,例如隨機數生成器
AddSingleton
應用程式生命周期內單個實例 (應用啟動時創建一次,後續重用)
應用程式內單個實例
用於耗費資源的共享服務或單一狀態數據
設定、記錄器(Logger)等
Repository Pattern
Models - Class Library
Service - Class Library
Interface of IRepository and Repository Implementation
ref to Models
RazorPage
ref to Models, Service
Html Helper
Routing
@page "Index/{title?}"

<h1>@RouteData.Valeus["title"]</h1>
asp-route-id Anchor Tag Helper
asp-page
Environment Variables
藏的非常深,專案屬性、偵錯、開啟 debug 啟動設定檔 UI

Data Binding
[BindProperty(SupportsGet = true)]
public string? SearchString { get; set; }

[BindProperty(SupportsGet = true)]
public string? MovieGenre { get; set; }
透過 BindProperty 不需要再 OnPostAsync 當中提供參數 😊
[BindProperty]
public Movie Movie { get; set; } = default!;

// To protect from overposting attacks, see https://aka.ms/RazorPagesCRUD
public async Task<IActionResult> OnPostAsync()
{
    if (!ModelState.IsValid)
    {
        return Page();
    }

    _context.Movie.Add(Movie);
    await _context.SaveChangesAsync();

    return RedirectToPage("./Index");
}
Data Annotations
asp-validation-for
ModelState.IsValid
如果在前端驗證需要使用 jquery, jquery-validation, jquery-validation-unobtrusive
除了使用 Data Annotations 來驗證外,還可以使用 PageRemote 讓不需要送出完整表單的情況下,透過 ajax 動態地向伺服器端進行驗證 (使用情境例如驗證新建帳號或使用者名稱是否重複)
[BindProperty, PageRemote(
    ErrorMessage = "Name already exists.", AdditionalFields = "__RequestVerificationToken",
    HttpMethod = "post", PageHandler = "ValidateName")]
public string Name{ get; set; } = default!;

public JsonResult OnGetValidateName(string name)
{
    // Simulate checking for existing name
    var existingNames = new[] { "Alice", "Bob", "Charlie" };
    return new JsonResult(!existingNames.Contains(name));
}
同樣地也可以使用 ASP.NET MVC 時期就能夠使用的方法,直接擴充 ValidationAttribute。
using System;
using System.ComponentModel.DataAnnotations;

public class DateAfter1990Attribute : ValidationAttribute
{
    public DateAfter1990Attribute()
    {
        ErrorMessage = "The date must be after January 1, 1990.";
    }

    protected override ValidationResult IsValid(object value, ValidationContext validationContext)
    {
        if (value is DateTime date)
        {
            if (date > new DateTime(1990, 1, 1))
            {
                return ValidationResult.Success;
            }
            else
            {
                return new ValidationResult(ErrorMessage);
            }
        }

        return new ValidationResult("Invalid date format");
    }
}
直接加入在 Model 上。
[BindProperty]
[DateAfter1990]
[DataType(DataType.Date)]
public DateTime DateOfBirth { get; set; }
Partial View
Partial View 可以插入在其他頁面當中與普通的 Razoe Page 差別在於沒有 @page。
如果使用 Partiavl View
@await Html.RenderPartialAsync("_PartialViewName")Html.RenderPartialAsync 與 Html.PartialAsync 的比較
Html.RenderPartialAsync 此方法會直接將 HTML 加入到網頁,效能略好。
而 Html.PartialAsync 則需要搭配 <partial> 或者是 @ 來使用。
<partial name="_PartialViewName" model="Model" />ViewComponent
相較於 Partial View,ViewComponent 的可以賦予更多的商業邏輯,彷如獨立的 Controller Action。
ViewComponent 與 Html.Action 搭配 PartialView 的方式相比,減少產生額外的 HTTP Request 效能較佳,也更為適合重複使用。
具體可以應用方式如下:
- 最新新聞 (Latest News):顯示網站上最新的新聞或博客文章,從資料庫中動態獲取數據並渲染到頁面上。
- 頁腳資訊 (Footer Information):顯示網站頁腳的靜態資訊,例如聯絡方式、版權聲明和社交媒體鏈接。
- 側邊欄廣告 (Sidebar Advertisements):顯示動態的廣告內容,可以根據用戶的偏好或瀏覽歷史來決定顯示哪些廣告。
- 用戶通知 (User Notifications):顯示用戶的個人通知,例如新的消息、提醒或系統公告。
- 熱門商品 (Popular Products):顯示電商網站上最熱門或最暢銷的商品列表,根據銷量或用戶評分動態更新。
- 評論區 (Comments Section):顯示文章或產品的評論區,包含用戶評論的加載和顯示,並支持新評論的提交。
- 活動日曆 (Event Calendar):顯示即將到來的活動或事件,從資料庫中獲取活動數據並動態渲染到頁面上。
- 頁面導航 (Page Navigation):顯示頁面的導航欄,根據用戶的角色或權限動態生成不同的導航選項。
- 搜索建議 (Search Suggestions):根據用戶輸入的搜索詞動態顯示搜索建議或歷史搜索記錄。
- 近期活動 (Recent Activities):顯示用戶最近的活動記錄,例如最近瀏覽的商品、最近發布的評論或最近參加的活動。
🐻 Define ViewComponent:
public class LatestNewsViewComponent : ViewComponent
{
    private readonly AppDbContext _context;

    public LatestNewsViewComponent(AppDbContext context)
    {
        _context = context;
    }

    public async Task<IViewComponentResult> InvokeAsync(int count)
    {
        var newsItems = await _context.NewsItems
                                      .OrderByDescending(n => n.PublishedDate)
                                      .Take(count)
                                      .ToListAsync();

        return View(newsItems);
    }
}
🐻 Define ViewComponet's View:
@model IEnumerable<NewsItem>

<div class="latest-news">
    <h2>Latest News</h2>
    <ul>
        @foreach (var news in Model)
        {
            <li>
                <h3>@news.Title</h3>
                <p>@news.Summary</p>
                <small>@news.PublishedDate.ToString("MMMM dd, yyyy")</small>
            </li>
        }
    </ul>
</div>
🐻 Using in View.
<vc:latest-news count="5" />EntityFramework
Service - Class Library
install: EntityFrameworkCore.SqlServer
install: EntityFrameworkCore.Tools
RazorPage
ref to Models, Service
install: EntityFrameworkCore.Design
使用 EFCore 開發的順序
- 設計模型 (
/Models) - 建立 DBContext (Page Scaffold 可以協助建立在
/Data) - 設定連線字串在
appsettings.json(Scaffold 會自動設定) - 安裝 EntityFramework Core (Scaffold 會自動安裝 😊)
- 建立 Migration
- 更新資料庫
add-migratino inital
update-database
後續的開發作業
⭐一對多的模型示範
public class Grade
{
    public int GradeId { get; set; }
    public string GradeName { get; set; }

    public ICollection<Student>? Students { get; set; }
}

public class Student
{
    public int Id { get; set; }
    public string Name { get; set; }

    public int GradeId { get; set; }
    public Grade? Grade { get; set; }
}
需要注意一對多的模型之間的 Navigation Property 要設定為 Nullable,否則在 Create 會被 ModelSatte 阻擋。
⭐設計 SeedData
SeedData.cs
public class SeedData
{
    public static void Initialize(IServiceProvider serviceProvider)
    {
        using (var context = new MyRazorPagesContext(
            serviceProvider.GetRequiredService<
                DbContextOptions<MyRazorPagesContext>>()))
        {
            if (context == null || context.Grade == null || context.Student == null)
            {
                throw new ArgumentNullException("Null RazorPagesMovieContext");
            }

            // Look for any movies.
            if (context.Grade.Any() || context.Student.Any())
            {
                return;
            }

            context.Grade.AddRange(
                // data for the Grade table
                new Grade
                {
                    GradeName = "A",
                },
                new Grade
                {
                    GradeName = "B",
                },
                new Grade
                {
                    GradeName = "C",
                }
            );
            context.SaveChanges();

            context.Student.AddRange(
                new Student
                {
                    Name = "Webber",
                    Grade = context.Grade.Single(g => g.GradeName == "A"),
                }
            );

            context.SaveChanges();
        }
    }
}
Program.cs
var app = builder.Build();

using (var scope = app.Services.CreateScope())
{
    var services = scope.ServiceProvider;
    SeedData.Initialize(services);
}- 擴充欄位、增加 Data Annotations
- 新增資料表後調整 DBContext
- 反覆增加 Migration 以及更新資料庫
add-migration syncDBSchema –IgnoreChanges🐸 Repository Patterin in Service
🐸 Dependency Inject Service into RazorPage project
One to Many
public class Author
{
    public int AuthorId { get; set; }
    public string Name { get; set; }
    public ICollection<Book>? Books { get; set; }
}

public class Book
{
    public int BookId { get; set; }
    public string Title { get; set; }
    public int AuthorId { get; set; }
    public Author? Author { get; set; }
}
Author 的 ICollection Book 設定為 Nullable,否則在建立 Author 的時候必須一併建立 Book。
Book 的 Author 同樣設定為 Nullable,而 AuthorId 是必須的,EF Core 在建立物件後取得物件時,會自行關聯 AuthorId 以及 Author。
加入模型後,接著 add-migration 以及 update-database
處理資料的邏輯預設不會處理關聯項目,需要自行調整,以下的邏輯是如果關聯項目是新增的項目 (id 為 0) 就加入,否則就修改,但不會進行刪除。
if (customer.Orders != null)
{
    foreach (var order in customer.Orders)
    {
        if (order.OrderId == 0)
        {
            _context.Orders.Add(order);
        }
        else
        {
            _context.Entry(order).State = EntityState.Modified;
        }
    }
}
而在處理資料的邏輯,有時候會碰到 "A possible object cycle was detected. This can either be due to a cycle or if the object depth is larger than the maximum allowed depth of 32"
可以藉由在 program.cs 加入以下來避免錯誤。
builder.Services.AddControllers().AddJsonOptions(options =>
{
    //options.JsonSerializerOptions.ReferenceHandler = System.Text.Json.Serialization.ReferenceHandler.Preserve;
    options.JsonSerializerOptions.ReferenceHandler = ReferenceHandler.IgnoreCycles;
});
再回到 Index.cshtml 以及 Index.cshtml.cs 進行設計。
Index.cshtml
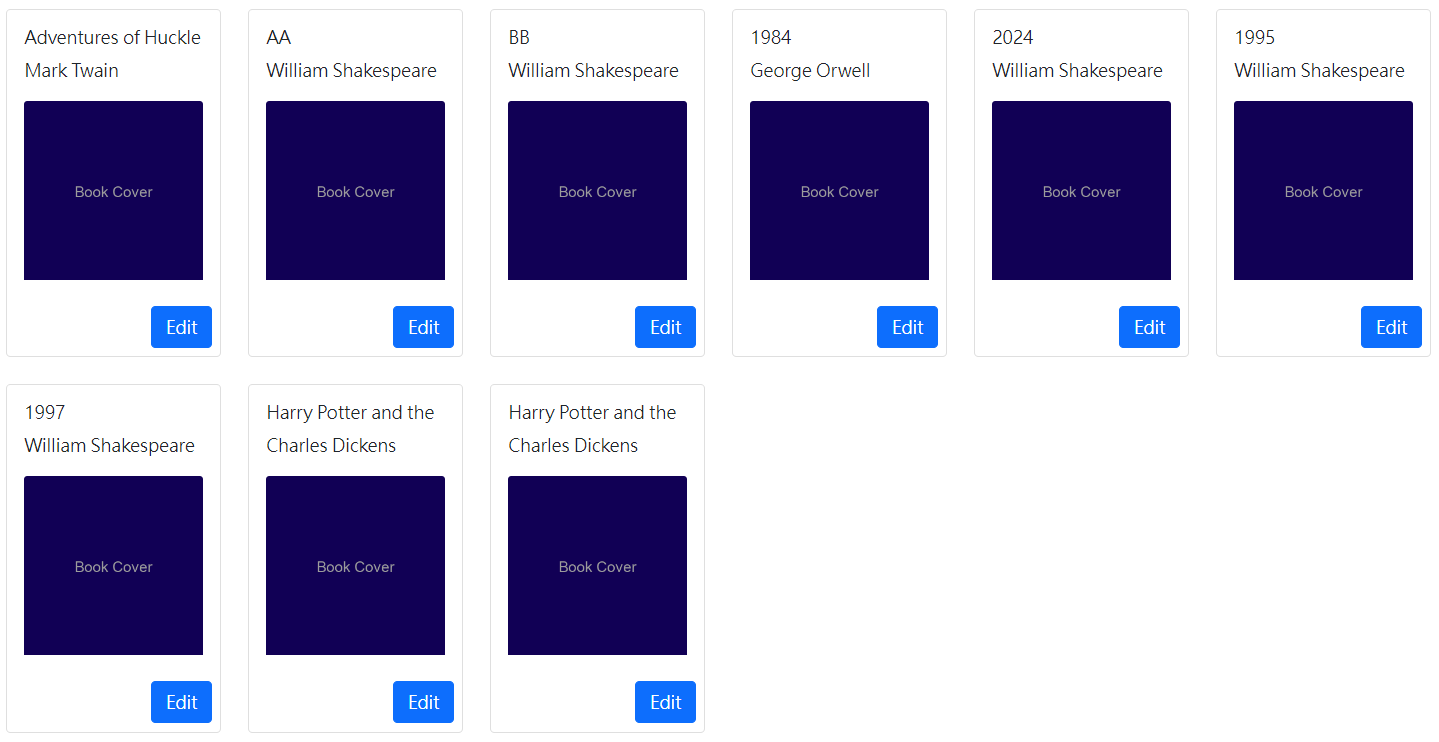
<div class="row row-cols-1 row-cols-md-6 g-4">
    @foreach (var book in Model.Book)
    {
        <div class="col">
            <div class="card h-100">
                <div class="card-body">
                    <h6 class="card-title">@book.Title</h6>
                    <p class="card-text">@book.Author.Name</p>
                    <img src="https://via.placeholder.com/300/110055?text=Book+Cover" class="card-img-top img-fluid">
                </div>
                <div class="p-2 text-end">
                    <a href="@Url.Page("./Edit", new { id = book.BookId })" class="btn btn-primary">Edit</a>
                </div>
            </div>
        </div>
    }
</div>
以上的設計使用 Bootstrap5 Card Grid 簡易排版,並且對齊按鈕以及使用 placeholder 來示意圖片。
Many to Many
Using Skip Navigations Many to Many Relationship
public class Course
{
    public int Id { get; set; }
    public string? Title { get; set; }
    public ICollection<Student> Students { get; set; } = new List<Student>();
}

public class Student
{
    public int Id { get; set; }
    public string Name { get; set; }
    public ICollection<Course> Courses { get; set; } = new List<Course>();
}
DBContext 只需要最簡單的 DbSet 不需要額外的 FluentAPI:
public DbSet<Models.Student> Student { get; set; } = default!;
public DbSet<Models.Course> Course { get; set; } = default!;
Controller 的部分,要同時考量 Edit Entity 本體的 Property 並且只對 Join Table 操作,要避免 OverPost 操作的另一端的 Entity。
所以要註解原本 Scaffold 提供的方法:
_context.Entry(student).State = EntityState.Modified;改為以下的方式
if (student.Courses != null)
{
    existingStudent.Courses = new List<Course> { };
    foreach (var course in student.Courses)
    {
        var existingCourse = await _context.Course.FindAsync(course.Id);
        if (existingCourse != null)
        {
            existingStudent.Courses.Add(existingCourse);
        }
    }
}
雖然有順利地加入資料,但要刪除卻頭痛不已,使用 Courses.Clear 再加入新的 Course 達到 Put 的效果卻發生 Entity Tracking 已存在的問題。
最後還是改採直接加入 Join Table 的 Model 設計方式:
public class Student
{
    public int StudentId { get; set; }
    public string Name { get; set; }
    public ICollection<StudentCourse>? StudentCourses { get; set; }
}

public class Course
{
    public int CourseId { get; set; }
    public string Title { get; set; }
    public ICollection<StudentCourse>? StudentCourses { get; set; }
}


public class StudentCourse
{
    public int StudentId { get; set; }
    public Student? Student { get; set; }
    public int CourseId { get; set; }
    public Course? Course { get; set; }
    public string Grade { get; set; }
}
作業的邏輯則是如此:
將輸入的內容做為 DTO,比對 id 取得實際在資料庫當中的資料,先清空關聯項目,再重新新增。
var existingStudent = await _context.Student.Include(s => s.StudentCourses).FirstOrDefaultAsync(s => s.StudentId == id);

existingStudent.StudentCourses = new List<StudentCourse> {  };

if (student.StudentCourses != null)
{
    foreach (var course in student.StudentCourses)
    {
        existingStudent.StudentCourses.Add(new StudentCourse
        {
            StudentId = id,
            CourseId = course.CourseId,
            Grade = course.Grade
        });
    }
}
雖然在 Model 以及 Controller 的程式碼都囉嗦了些,但使用上更為明確也可以在 Join Table 擴充屬性。
Hosting WebApplication
In-Process Hosting Model 要在 IIS 部署 .NET (Razor Pages) 必須要先在伺服器上安裝 Hosting Bundle。
接著在站台管理將 Razor Pages 建立為應用程式即可。
也可以使用 Out-Of-Process Hosting Model,透過 IIS 反向代理的方式,實際由 Kestrel 來提供網站服務,但效能較 In-Prcoess 差。
如果要進行設定,需要在專案檔當中進行 AspNetCoreHostingModel 設定。
<PropertyGroup>
    <TargetFramework>net8.0</TargetFramework>
    <AspNetCoreHostingModel>OutOfProcess</AspNetCoreHostingModel>
    <Nullable>enable</Nullable>
    <ImplicitUsings>enable</ImplicitUsings>
</PropertyGroup>