前端開發不能錯過的 Json Server
2021-08-21
前端開發的路上你並不孤單,當需要後端 Rest API 的支援時,不用自己用 Asp.net Web API、Express、Django、Ruby on Rails 等後端框架慢慢刻,不僅需要額外的學習門檻,也需要不少的投入時間。Json Server 就是你在前端開發上不可或缺的好夥伴。藉由執行本機端的 server service,將 json file 直接變為 Rest API Service,讓前端開發環境更為方便。
說明
安裝與啟用
使用 npm 安裝 Json Server
npm install -g json-server建立資料夾讓此資料夾作為 Server root folder
mkdir jsdb
cd jsdb
touch db.json
db.json
{
  "posts": [
    { "id": 1, "title": "json-server", "author": "typicode" }
  ],
  "comments": [
    { "id": 1, "body": "some comment", "postId": 1 }
  ],
  "profile": { "name": "typicode" }
}
啟用 Json Server
json-server --watch db.json --port 8888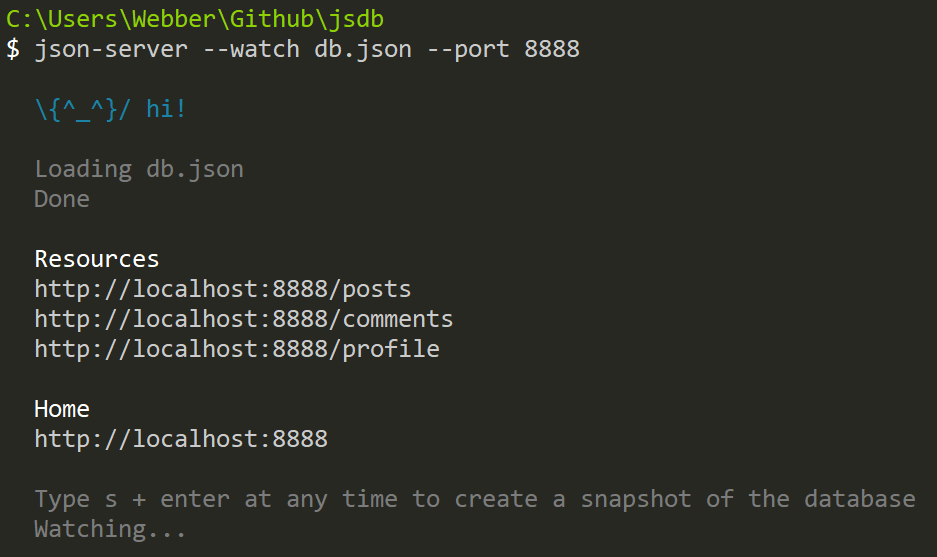
讀取與操作資料 | Python
import requests

url = 'http://localhost:8888'
response = requests.get(url + '/posts')

response.json()
# [{'id': 1, 'title': 'json-server', 'author': 'typicode'}]
如果要取得所有的資料可以下列方式:
dbData = requests.get(url + '/db').json(){
'posts': [{'id': 1, 'title': 'json-server', 'author': 'typicode'}],
'comments': [{'id': 1, 'body': 'some comment', 'postId': 1}],
'profile': {'name': 'typicode'}
}要新增資料則是使用 post:
url = 'http://localhost:8888'
requests.post(url + '/posts', {'id': '2', 'title': 'new-posts'})
# <Response [201]>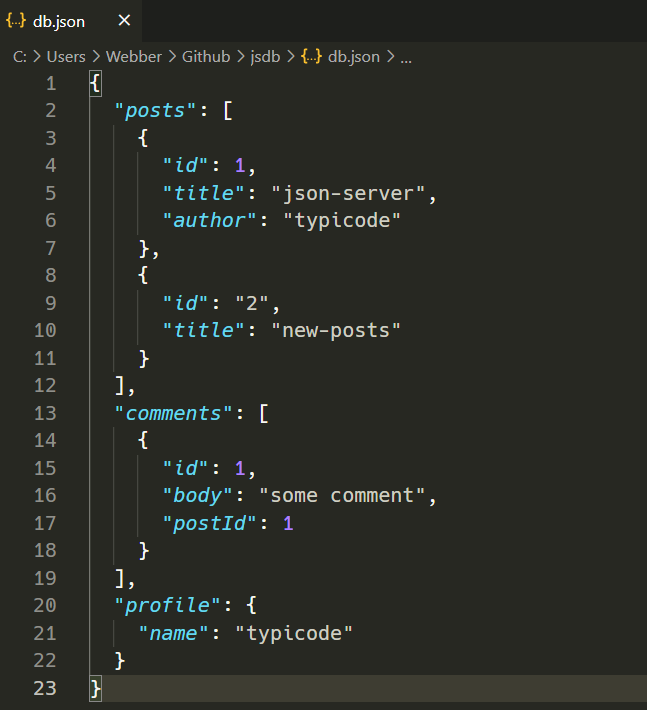
如果要刪除資料則是使用 delete:
url = 'http://localhost:8888'
requests.delete(url + '/posts/2')
# <Response [200]>
讀取與操作資料 | 使用 Axios, Fetch, Request
本次的主題是針對前端工程師所寫,當然要實際以 JS 來進行 Rest API 的操作,但除 ECMA 規範的 Fetch 外,使用第三方工具例如 Axios 與 Request 也是相當熱門的選擇。因此決定一併介紹 JS 該如何使用這三種技術來進行 Rest API 的操作:
Fetch
超簡單學習 Vue.js 系列 | Fetch With Json Server
Axios
持續編輯中 🧙♂️