ASP.NET MVC 使用 Bootstrap-Vue 輕前端解決方案
2021-07-13
詳細步驟說明 ASP.NET MVC Framework 如何在設計 View 的時候,加入 Vue.js 前端框架,同時結合 Razor 頁面設計的威力以及享用 Vue.js 所帶來的雙向綁定以及宣告式渲染,讓表單 (form) 的設計方式更為活潑多元。
同時使用了 Bootstrap-Vue 框架,讓輕前端解決方案中,不容易設計 Vue 元件的問題有了替代的解決方式。同時本次的說明是以 Visual Studio 進行說明,有別於使用 Visual Studio Code 的說明方式,要讓原本熟悉 ASP.NET MVC、Visual Studio 的開發人員在熟悉的開發環境中加入 Vue.js 前端框架。

說明
ASP.NET MVC 當中的 Razor 其實已足以勝任多數的頁面設計工作,同時用法也相當直覺,如同古早的 ASP、PHP 直接在整個動態產生出所需的 HTML,並組合為整個網頁。同時搭配 jQuery 使用 DOM 的方式對於網頁元素進行操作,對於事件的處理也。此外 MVC 也有提供了 Unobtrusive Ajax Helper,能夠直接與後端的 Controller 合作,使用 Ajax 非同步地更新網頁中部份元件,語法簡便、使用容易,讓網頁不需要重新整理就能夠更新顯示內容,提升使用者的體驗。
而儘管 ASP.NET MVC 相當美好,隨著應用系統的逐漸複雜,對於前端處理的期待越來越多,藉由前端框架所提供的雙向綁定、宣告式渲染功能,能夠讓前端的互動更為豐富、多元,然而在缺乏專職前端工程的團隊中,要大動作的將專案拆分為前端、後端並不容易,取而代之的是讓開發人員能夠輕量的使用前端框架,讓 JS Script 隨著系統複雜不易維護的問題有了緩解,同時也是為團隊儲備前端的開發能量,日後有新專案的時候再嘗試分離前、後端。
開發步驟
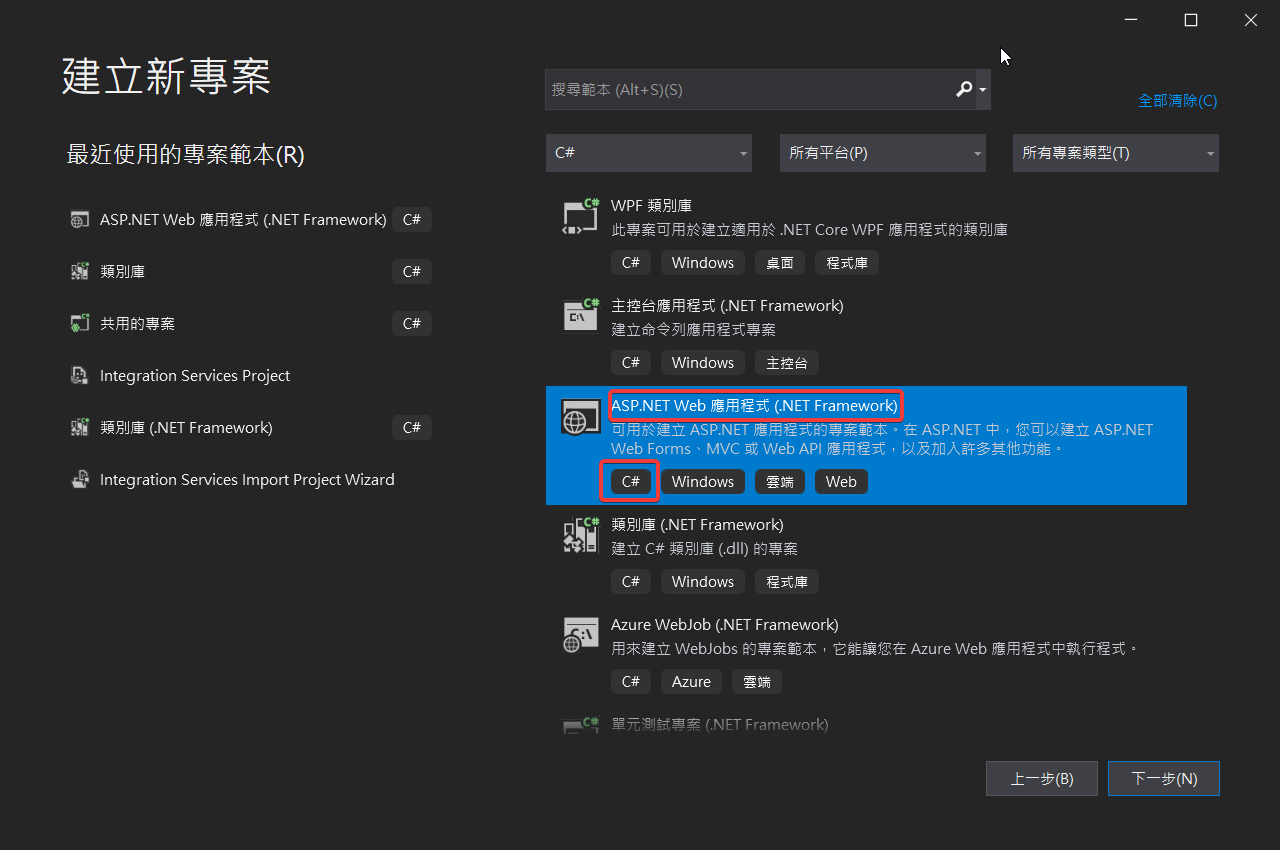
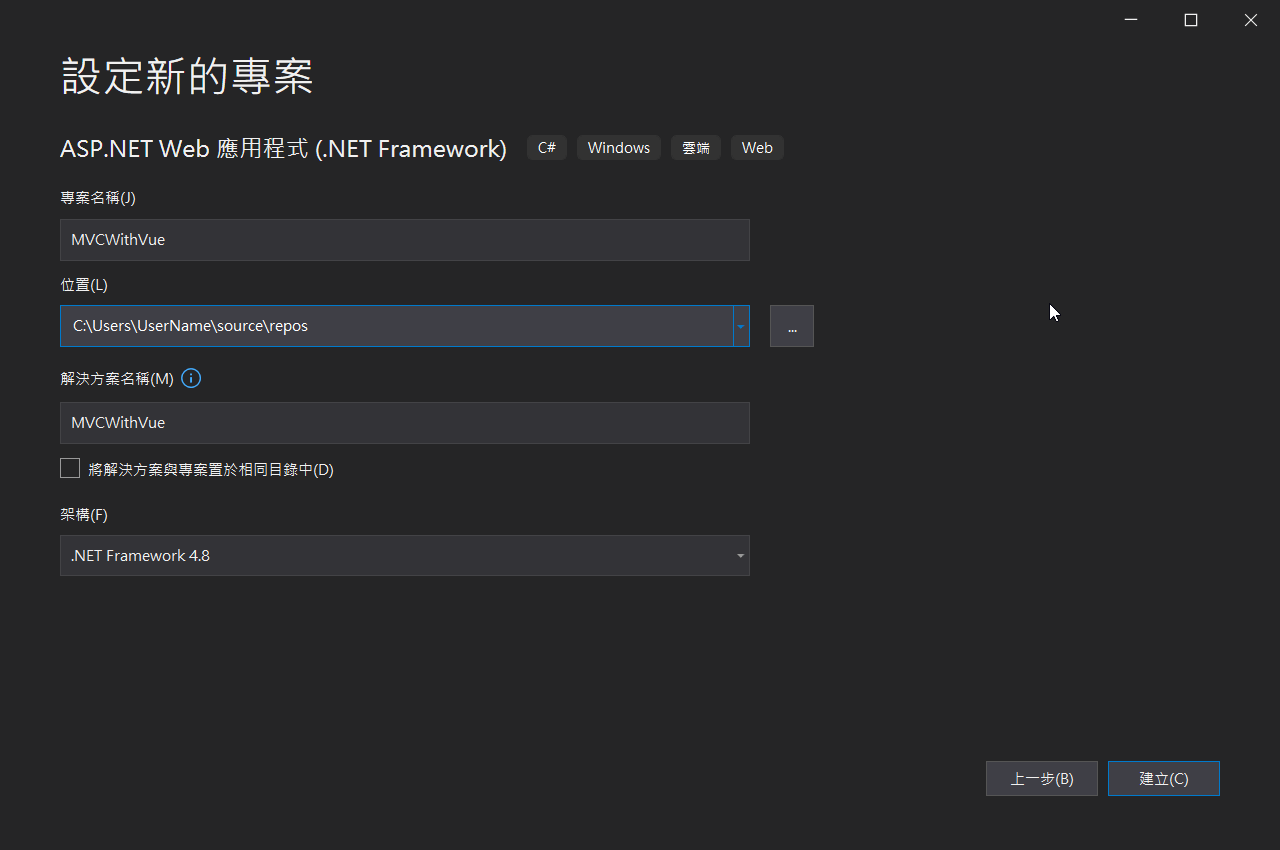
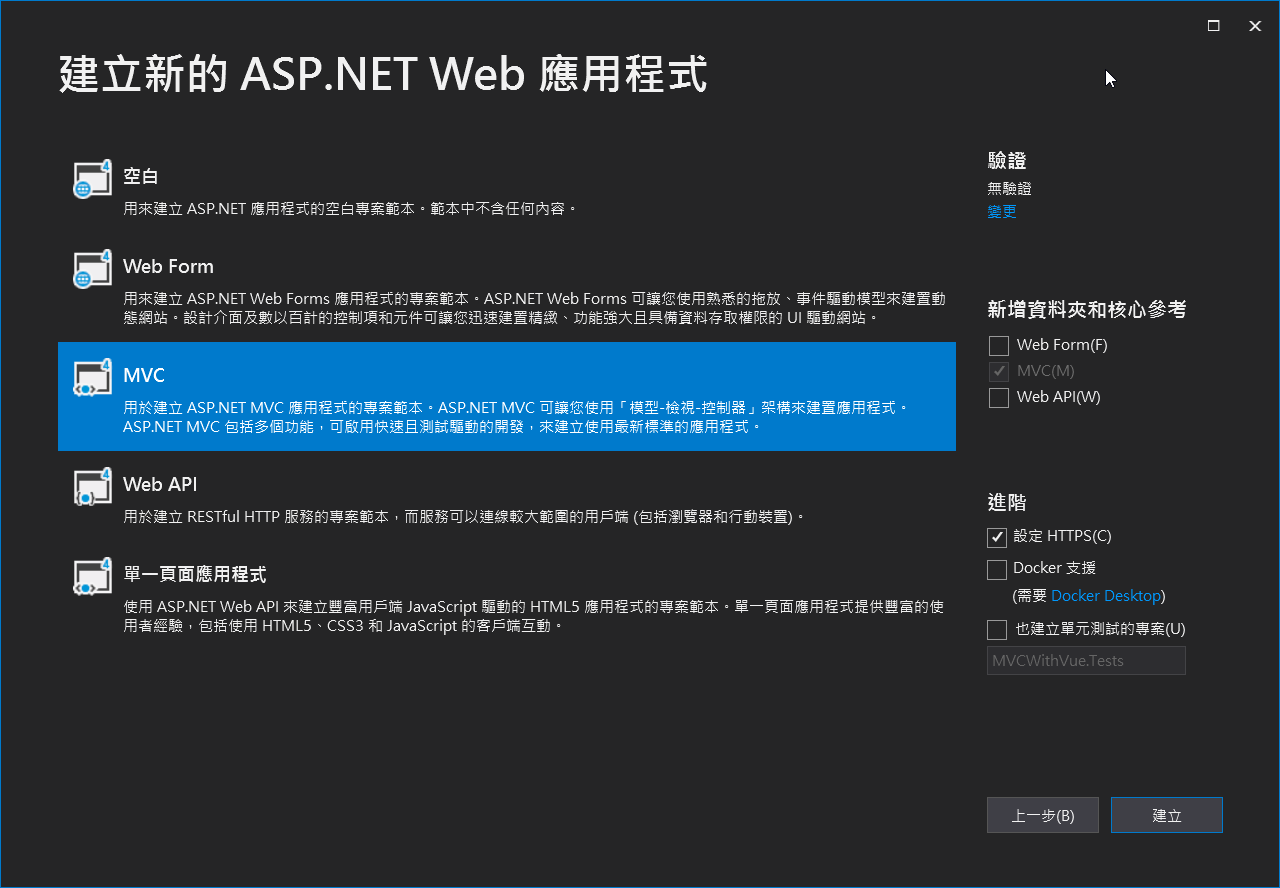
建立 ASP.NET MVC 專案
建立專案的步驟一如以往,請參考圖片。
完成後首先將專案加入原始檔控制,方案版本控制日後開發過程的變化。
新增頁面
為簡化設計的過程,由 Controller 加入一個新的 Action 並回傳不具 Layout 的 View,專供 Vue.js 使用。後續再隨著 Vue.js 的應用範圍,可以有專門的 Layout 或者者加入共用的 Layout 使每個頁面都可以使用 Vue.js。

加入 Style / Scripts CDN
首先在 Head element 的地方加入 CDN,如果為 Intranet 環境可以改以 LibMan 自行管理相關元件。
要注意的是 Vue.js 的引入必須在 Head 之中,如果 Script 引入放置在 Body 後,網頁會先出現未渲染前的 Html Element,然後在閃現進行元件渲染,使用者體驗比較不好。
<head>
    <meta name="viewport" content="width=device-width" />
    <title>Vue</title>
    <!-- Add this to <head> -->
    <!-- Load required Bootstrap and BootstrapVue CSS -->
    <link type="text/css" rel="stylesheet" href="//unpkg.com/bootstrap/dist/css/bootstrap.min.css" />
    <link type="text/css" rel="stylesheet" href="//unpkg.com/bootstrap-vue@latest/dist/bootstrap-vue.min.css" />

    <!-- Load polyfills to support older browsers -->
    <script src="//polyfill.io/v3/polyfill.min.js?features=es2015%2CIntersectionObserver" crossorigin="anonymous"></script>

    <!-- Load Vue followed by BootstrapVue -->
    <script src="//unpkg.com/vue@latest/dist/vue.min.js"></script>
    <script src="//unpkg.com/bootstrap-vue@latest/dist/bootstrap-vue.min.js"></script>

    <!-- Load the following for BootstrapVueIcons support -->
    <script src="//unpkg.com/bootstrap-vue@latest/dist/bootstrap-vue-icons.min.js"></script>
</head>
在 Bootstrap-Vue 上的 CDN 建議都是使用 latest 版本的各種元件。然而 Bootstrap -Vue 必須依賴 Bootstrap 4 以及 Vue 2,因此在實戰明確的指定包含 Bootstrap-Vue 在內的版本,避免更新改版而衍生各種頭痛的問題。
@section head{
    <link rel="stylesheet" href="https://cdnjs.cloudflare.com/ajax/libs/bootstrap/4.6.2/css/bootstrap.min.css" />
    <link rel="stylesheet" href="https://cdnjs.cloudflare.com/ajax/libs/bootstrap-vue/2.23.1/bootstrap-vue.min.css" />
    <link rel="stylesheet" href="https://cdnjs.cloudflare.com/ajax/libs/bootstrap-vue/2.23.1/bootstrap-vue-icons.min.css" />

    <!-- Load polyfills to support older browsers -->
    <script src="https://polyfill.io/v3/polyfill.min.js?features=es2015%2CIntersectionObserver"></script>

    <!-- Load Vue followed by BootstrapVue -->
    <script src="https://cdnjs.cloudflare.com/ajax/libs/vue/2.7.14/vue.min.js"></script>
    <script src="https://cdnjs.cloudflare.com/ajax/libs/bootstrap-vue/2.23.1/bootstrap-vue.js"></script>

    <!-- Load the following for BootstrapVueIcons support -->
    <script src="https://cdnjs.cloudflare.com/ajax/libs/bootstrap-vue/2.23.1/bootstrap-vue-icons.min.js"></script>
}
使用 Template
在 Body 當中使用 Div 搭配 Id 為 #App,提供 Vue.js 實體掛載的地方以及控制權,而任何要使用的 Bootstrap-Vue Components 都必須於 #App Div 之中,才能夠正確渲染。
<div id="App">
    <!-- 示範載入 Bootstrap-Vue 的元件-->
    <div>
        <b-button>Button</b-button>
        <b-button variant="danger">Button</b-button>
        <b-button variant="success">Button</b-button>
        <b-button variant="outline-primary">Button</b-button>
    </div>
    <hr />

    <!-- 示範使用 Vue.js 的雙向綁定 -->
    <div class="row">
        <div class="col-4">
            <input type="text" v-model="msg" class="form-control w-50" />
        </div>
        <div class="col-4">
            <input type="text" class="form-control w-50"
              v-bind:value="upperCase" disabled />
        </div>
    </div>
    <hr />

    <!-- 示範使用 Vue.js v-for 來迭代物件 -->
    <div>
        <b-form-input list="my-list-id"></b-form-input>

        <datalist id="my-list-id">
            <option v-for="tech in techs">{{ tech }}</option>
        </datalist>
    </div>
</div>
建立 Vue Instance
使用的是 Vue 3.x 的 Options API ,並將 Vue Instance vm 掛載於 HTML Element Div#App。
<script>
    let vm = new Vue({
        //el: '#App',
        data() {
            return {
                msg: "hello",
                show: true,
                techs: ['Microsoft', 'Google', 'Apple', 'Netflix', 'Medium']
            }
        },
        computed: {
            upperCase() {
                return this.msg.toUpperCase()
            }
        },
        methods: {
        }
    });

    vm.$mount('#App');
</script>
成果
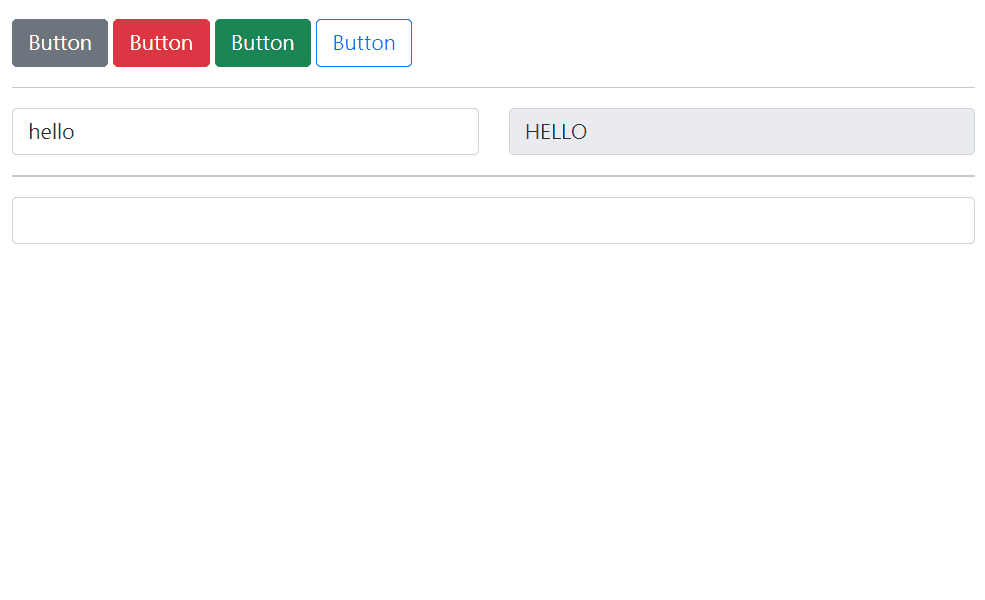
第一部分測試載入 Bootstrap-Vue 的元件,僅以簡單的 Button 為例,有成功渲染。而在輕前端的架構中,其實不用需要特別去使用 Bootstrap-Vue 的 Button,使用 Bootstrap 的 Button 即可,除非是要搭配 Data Binding 等方式來渲染 / 控制 Button 的出現。此外可以觀察到使用 Bootstrap-Vue 的 Button 對於 Style 的控制有些許不同,例如以為是用 Class 來定義 Button 的語意如 Primary, Success, Danger,在 Bootstrap-Vue 則是使用 variant。
第二部分則是輕前端的重點應用所在,Vue.js 來達成雙向綁定,以外要處理這樣的效果必須動用 jQuery 偵測事件、操作 DOM。現在使用 Vue.js 則易如反掌,行雲流水。
第三部分示範 v-for 功能來迭代渲染物件,而在 ASP.NET MVC 其實可以藉由 Razor 來達到同樣的功能,這邊僅是做 Vue.js 功能上的測試。
與後端讀取、寫入資料進行測試
以下的 html 用於顯示 input 介面以及動態的根據輸入進行內容顯示。
<div id="App">
    <div>
        <div class="form-group row">
            <label for="inputServerName" class="col-sm-2 col-form-label">Server Name</label>
            <div class="col-sm-10">
                <input type="text" class="form-control" id="inputServerName" v-model="server.name">
            </div>
        </div>
        <div class="form-group row">
            <label for="inputIsPublicCloud" class="col-sm-2 col-form-label">Public Cloud</label>
            <div class="col-sm-10 pl-5">
                <input type="checkbox" class="form-check-input" id="inputIsPublicCloud" v-model="server.isPublicCloud">
                <label for="inputIsPublicCloud">True</label>
            </div>
        </div>
        <div class="form-group row">
            <label for="inputLocation" class="col-sm-2 col-form-label">Location</label>
            <div class="col-sm-10">
                <select class="form-control form-control" id="inputLocation" v-model="server.location">
                    <option value="Taipei">Taipei</option>
                    <option value="Taichung">Taichung</option>
                    <option value="Kaosiung">Kaohsiung</option>
                </select>
            </div>
        </div>

        <b-button variant="success" v-on:click="PostForm">Submit</b-button>
    </div>

    <table class="table mt-3 table-striped">
        <tr>
            <th>DateTime</th>
            <th>Server Name</th>
            <th>Public Cloud</th>
            <th>Location</th>
        </tr>
        <tr v-for="s in servers">
            <td>{{ s.datetime }}</td>
            <td>{{ s.server.Name}}</td>
            <td>{{ s.server.IsPublicCloud === true ? "✅" : ""}}</td>
            <td>{{ s.server.Location }}</td>
        </tr>
    </table>
</div>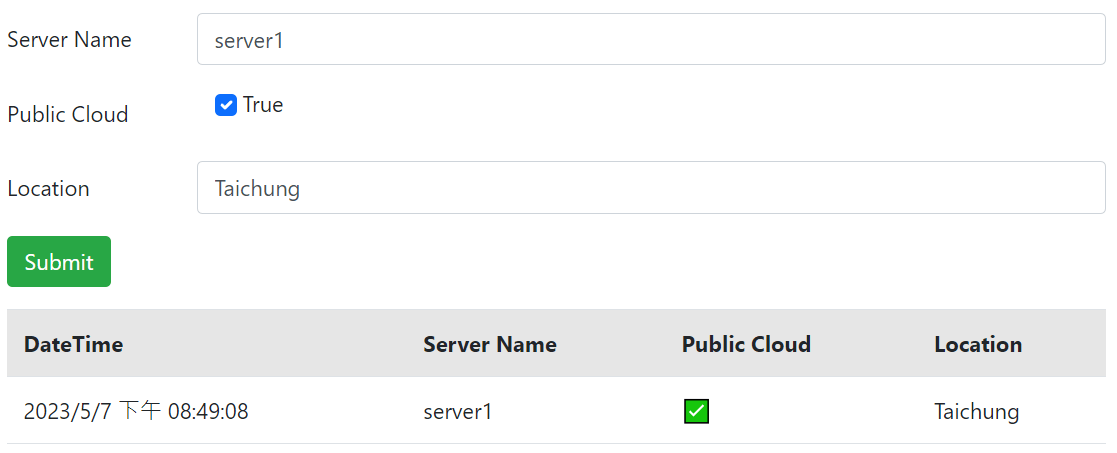
不同於 ASP.NET MVC 一般使用 Form 由前端所送出的資料通常是 application/x-www-form-urlencoded,前端框架通常是以 application/json 都方式拋接資料。以下示範如何在前端藉由 FormData API 的方式依循以往 Form 送出 application/x-www-form-urlencoded 的處理方式,交由後端 Controller 進行處理。
首先藉由 FormData API 使用 FormData 的方式組合要傳送的內容,並接著使用 fetch 的方式將資料送給後端,使用 then 的方式 callback 處理得到的回應:
document.addEventListener('DOMContentLoaded', function () {
    let vm = new Vue({
        //el: '#App',
        data() {
            return {
                servers: [],
                server: {
                    name: 'server1',
                    location: 'Taichung',
                    isPublicCloud: true
                }
            }
        },
        methods: {
            PostForm() {
                var formData = new FormData();
                formData.append('Name', this.server.name);
                formData.append('Location', this.server.location);
                formData.append('IsPublicCloud', this.server.isPublicCloud);

                fetch('/BootstrapVue/ServerForm', {
                    method: 'POST',
                    body: formData
                })
                    .then(response => response.json())
                    .then(data => {
                        console.log(data);
                        this.servers.unshift(data)
                    })
                    .catch(error => {
                        console.error(error);
                    });
            }
        }
    });

    vm.$mount('#App');
});
對於 Controller 而言,同樣是處理 Form 的資料,預設的 Model Binding 機制可以正常發揮。並且藉由 EntityFramework 將資料寫入到資料庫也正常無誤的執行 (只是簡化了很多檢查的事)。
而好奇的是如果是 application/json 後端該如何處理? 初步掌握的情報是使用 [FromBody] 的方式,在 Action Parameter 的方式告訴 Action 接下來的傢伙可是來自 application/json,好好地招呼招呼他們 😎
但實際的測試並不需要特別加上 [FromBody],ASP.NET MVC 就可以處理 application/json 的傳入資料;同樣有趣的是藉由 FromData API 傳入的 Content-Type 是 multipart/form-data 而非 application/x-www-form-urlencoded 😫 這究竟是怎麼一回事
更奇特的是如果再 fetch 上指定 header 為 application/x-www-form-urlencoded 會
public class BootstrapVueController : Controller
{
    private AppDataLocalDbContext db = new AppDataLocalDbContext();

    // GET: BootstrapVue
    public ActionResult Index()
    {
        return View();
    }

    [HttpPost]
    public ActionResult ServerForm(ServerRoom room)
    {
        var data = new Dictionary<string, object>
        {
            { "datetime", DateTime.Now.ToString() },
            { "server", room }
        };

        db.ServerRooms.Add(room);
        db.SaveChanges();

        return Json(data, JsonRequestBehavior.AllowGet);
    }
}
小結
現在前端開發蓬勃發展,但傳統 IT 團隊還沒有細分專職前端、後端工程師的情境下,開發人員先從輕前端的方案開始著手,逐漸培養團隊的前端工具使用能量,不失為一個開發團隊發展的選擇。在 ASP.NET MVC 中能夠使用 Vue.js 後,為設計使用者介面、使用者互動提供了更好的工具,專案能夠視需求漸進式的使用 Vue.js,太棒了 😁
後續應用
- 將 CDN 調整為 Libman
- 將 Page Script / CSS 提升為 Layout Script / CSS