Azure Learn AZ-204 The Hard Way | 實作 AZ-204 Lab 06 Authenticate
2022-03-22
實作 AZ-204 證照測驗準備的實驗課程,從實驗課程中精熟 AZ-204 的測驗重點以及工具操作。本次要實驗的是如何使用 Azure Authenticate。
Lab06 - Authenticate
詳細的實驗流程可以參考微軟在 GitHub上的專案
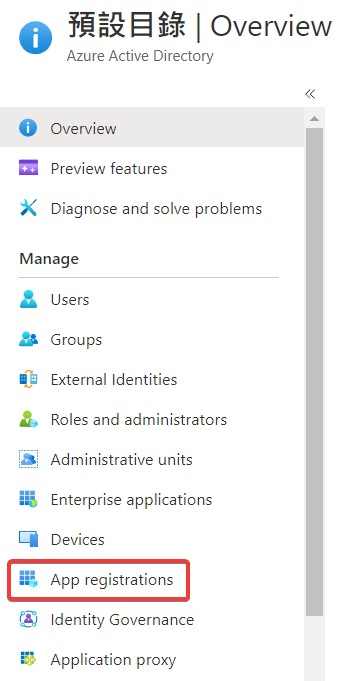
Register
Accounts in this organizational directory only (Default Directory only - Single tenant).

取得 Application ID 並且先保存,稍後會用到
f85dc8ff-4c7a-0000-0000-00000000000000
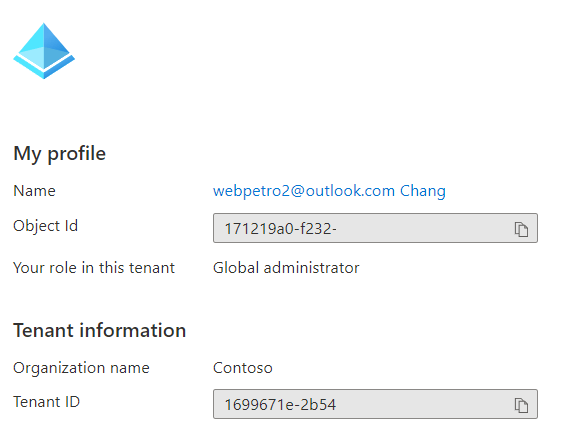
取得 Directory ID (tenant Id) 先保存,稍後會用到
a44bb28c-45fd-0000-0000-000000000000
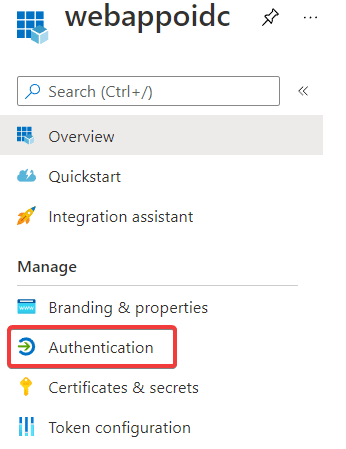
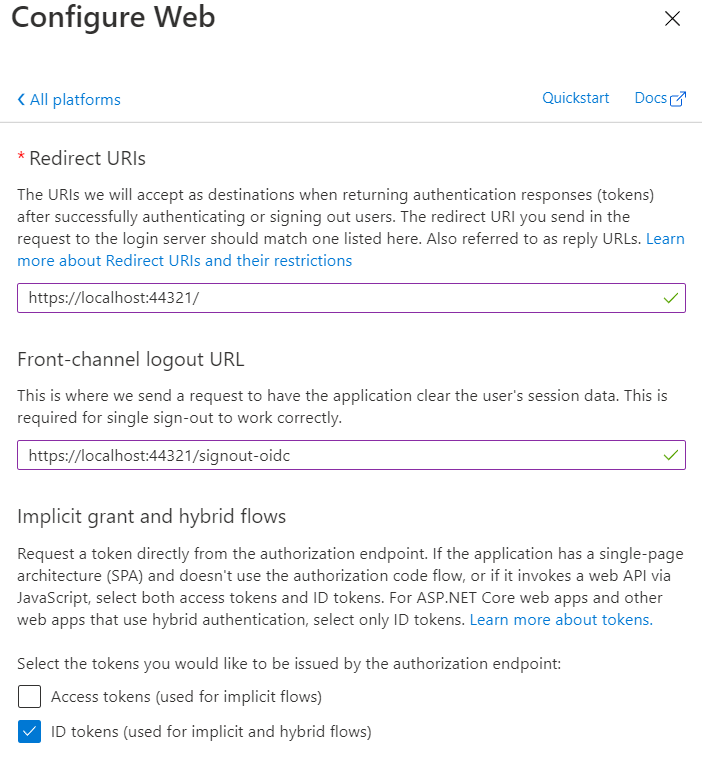
Platform Configure
PowerShell
Connect-AzureAD
$aadDomainName = ((Get-AzureAdTenantDetail).VerifiedDomains)[0].Name
$passwordProfile = New-Object -TypeName Microsoft.Open.AzureAD.Model.PasswordProfile
$passwordProfile.Password = 'Pa55w.rd1234'
$passwordProfile.ForceChangePasswordNextLogin = $false
New-AzureADUser -AccountEnabled $true
  -DisplayName 'aad_lab_user1'
  -PasswordProfile $passwordProfile
  -MailNickName 'aad_lab_user1'
  -UserPrincipalName "aad_lab_user1@$aadDomainName"
取得 UPN
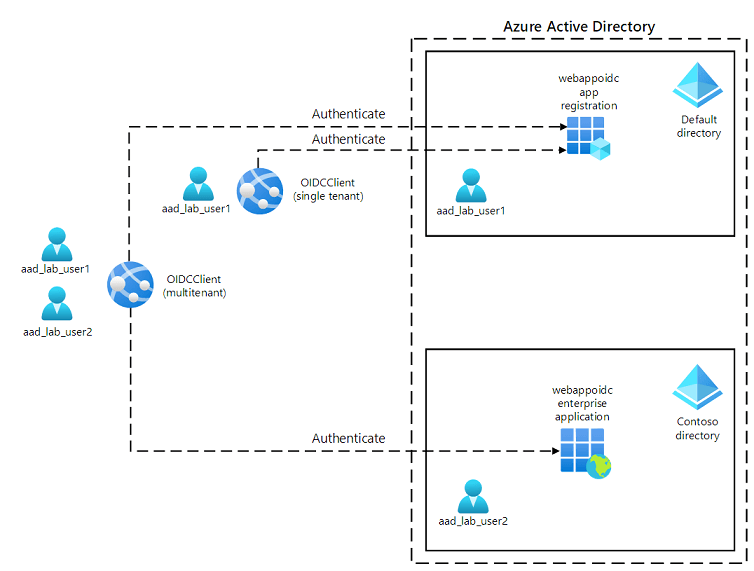
Single Tenant Web App
cd C:\Allfiles\Labs\06\Starter\OIDCClient

dotnet new mvc --auth SingleOrg ^
  --client-id f85dc8ff-4c7a-0000-0000-000000000000 ^
  --tenant-id a44bb28c-45fd-0000-0000-000000000000 ^
  --domain [email protected]

rmdir .\obj /S /Q
調整 Properties/launchSettings.json 的 sslPort 為 44321 以及 OIDCClient 下的 applicationUrl 為 https://localhost:44321 ,其他值不需要調整
"iisExpress": {
      "sslPort": 44321
}

"profiles": {
    "OIDCClient": {
      "applicationUrl": "https://localhost:44321",
調整 Runtime & Packages Verions
OIDCClient.csproj
確認 TargetFraomework 使用 netcoreapp3.1,相關的 Packages 也必須分別使用 3.1.18 以及 0.3.1-preview。
如果檔案存在 ImplicitUsings 請直接移除,那個是 C# 10 的玩意兒,會讓 .NET Core 3.1 Build 失敗 😣
<PropertyGroup>
  <TargetFramework>netcoreapp3.1</TargetFramework>
</PropertyGroup>

<ItemGroup>
  <PackageReference Include="Microsoft.AspNetCore.Authentication.JwtBearer" Version="3.1.18" NoWarn="NU1605" />
  <PackageReference Include="Microsoft.AspNetCore.Authentication.OpenIdConnect" Version="3.1.18" NoWarn="NU1605" />
  <PackageReference Include="Microsoft.Identity.Web" Version="0.3.1-preview" />
  <PackageReference Include="Microsoft.Identity.Web.UI" Version="0.3.1-preview" />
</ItemGroup>
將登出入頁面的連結由 MicrosoftIdentity 調整為 AzureAD
\Views\Shared_LoginPartial.cshtml
<a class="nav-link text-dark" asp-area="AzureAD" asp-controller="Account" asp-action="SignOut">Sign out</a>`
<a class="nav-link text-dark" asp-area="AzureAD" asp-controller="Account" asp-action="SignIn">Sign in</a>
確認 appsettings.json,Domain、TenantId、ClientId 的內容是否正確,此外 Instance 以及 callbackPath 必須如下輸入:
| Item | Value |
|---|---|
| Instance | https://login.microsoftonline.com/ |
| callbackPath | /signin-oidc |
分別將 Startup.cs 以及 Program.cs 進行調整:
進行編譯測試一切正常,接著綁定憑證後執行
dotnet build
dotnet dev-certs https --trust
dotnet run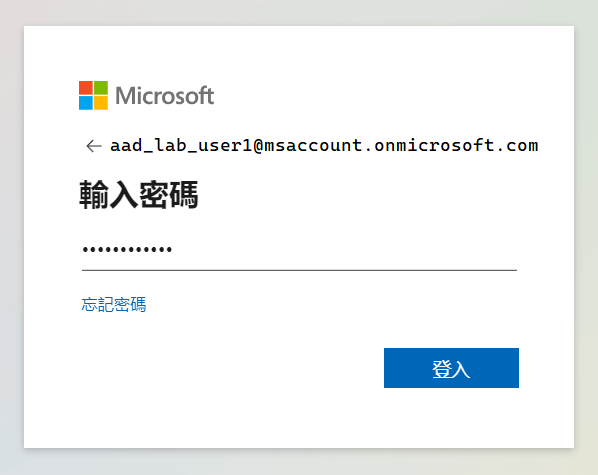
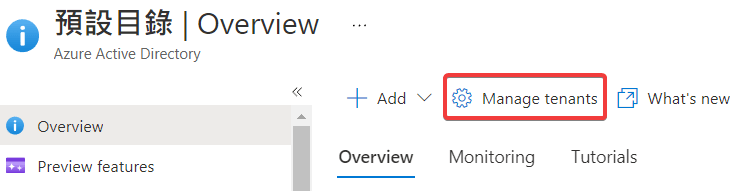
Create Azure Active Directory

這邊預期的是 aad_lab_user2 屬於不同 AAD 所以會登入失敗。但實驗進行到這邊發生一個問題,新建立的 AAD 下沒有 Subscription 可以使用,所以也沒辦法建立相關的 Azure AD User。
解決的方式是透過 Clodushell 切換 Subscription 的方式來建立帳號就可以囉 😂
Import-Module AzureAD.Standard.Preview
AzureAD.Standard.Preview\Connect-AzureAD -TenantID '1699671e-2b54-0000-0000-000000000000'
$aadDomainName = ((Get-AzureAdTenantDetail).VerifiedDomains)[0].Name

$passwordProfile = New-Object -TypeName Microsoft.Open.AzureAD.Model.PasswordProfile
$passwordProfile.Password = 'Pa55w.rd1234'
$passwordProfile.ForceChangePasswordNextLogin = $false
New-AzureADUser -AccountEnabled $true
  -DisplayName 'aad_lab_user2'
  -PasswordProfile $passwordProfile
  -MailNickName 'aad_lab_user2'
  -UserPrincipalName "aad_lab_user2@$aadDomainName"

(Get-AzureADUser -Filter "MailNickName eq 'aad_lab_user2'").UserPrincipalName
Multi-Tenant Web App
將 appsettings.json 的 TenantId 調整為 organizations
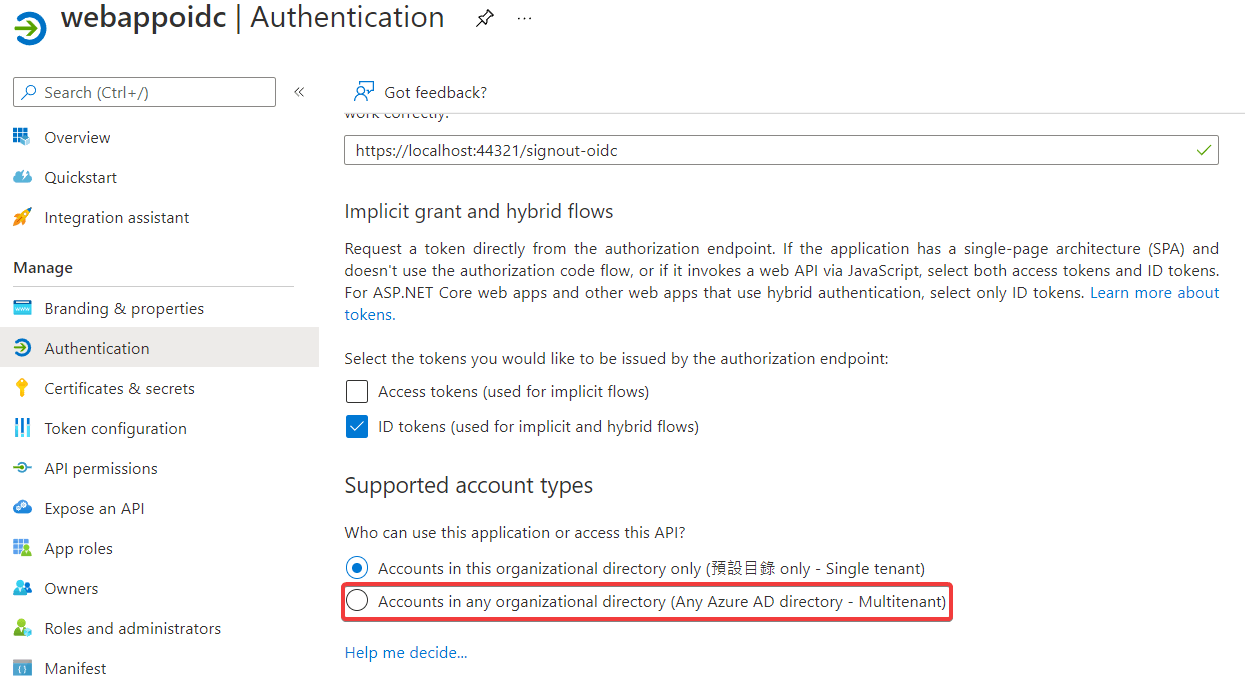
dotnet run這次 aad_lab_user2 屬於不同 AAD 的帳號也可以順利登入了 😄
Azure Authenticate 相關知識
實戰 Azure Authenticate 心得
...